How to properly install stone protective film for a secure fit
2025-08-16
Stone Protection Film Installation Guide
1. Surface Preparation Before Installation
- 1Thoroughly clean the stone surface using a soft cloth or brush to remove dust, sand, and oil.
- 2For stubborn stains, gently wipe with neutral detergent and dry completely with a dry cloth.
- 3Polish uneven areas to create a smooth surface for better film adhesion.
- 4Ensure the surface is completely dry before proceeding with installation.
2. Choose a Suitable Installation Environment
- 1Install in a dry, clean environment - avoid dusty or humid locations.
- 2Maintain moderate temperature - extreme heat or cold can affect adhesive performance.
- 3Ensure good ventilation in the installation area.
- 4Prepare a clean, flat workspace large enough for the stone surface.
3. Control the Installation Order and Direction
- 1Begin installation from one end of the stone, working gradually toward the other end.
- 2First adhere the protective film at the starting edge, then unroll slowly in a straight line.
- 3Keep the film flat during application to avoid wrinkles or skewing.
- 4Ensure even contact between adhesive and stone surface throughout the process.
4. Use Tools to Assist with Compaction
- 1Use a scraper or soft roller to press from secured areas toward unattached sections.
- 2Apply even pressure to remove air bubbles between film and stone.
- 3Use moderate pressure - avoid excessive force that could stretch the film.
- 4Pay special attention to corners and edges to prevent later warping.
5. Perform Post-Installation Inspection and Maintenance
- 1Inspect the entire surface for bubbles or wrinkles after installation.
- 2For bubbles, gently puncture with a needle and press out air with a scraper.
- 3Recompact any raised edges by hand or with tools.
- 4Avoid moving or bumping the stone immediately after installation.
- 5Allow adequate time for the adhesive to fully bond with the stone surface.
You Might Also Like
-
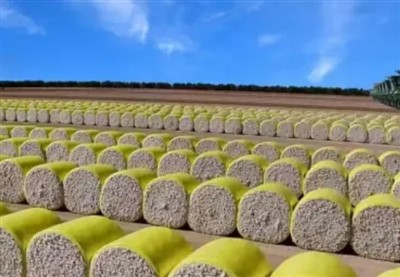
what are the advantages of cotton packaging film
-
The Advantages of Cotton Wrap Film
-
How does pe protective film cope with high temperature environment
-
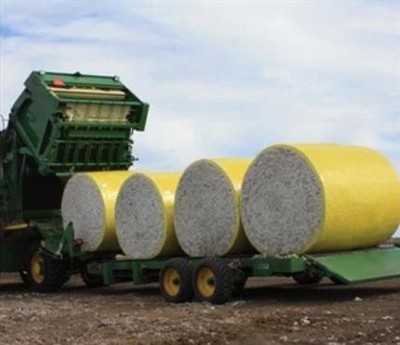
Advantages of Cotton Bale Wrap Film
-
How Polyethylene Packaging Material Copes with High Temperature Environment
-
Storage method of cotton bale wrap film