How to Prevent Hollowing in Large-Sized Marble Slabs When Applying Protective Film
2025-08-14
Marble Surface Lamination Guide
Professional techniques for perfect protective film application
Surface Preparation
Before lamination, thoroughly clean the marble surface to ensure optimal adhesion.
- Use a soft cloth to remove dust, impurities, and oil
- Gently sand any minor bumps or depressions to prevent air traps
- Allow surface to completely dry before laminating
- Ensure no moisture remains to prevent bubble formation
Lamination Order
Proper sequencing ensures even adhesion across the entire surface.
- Start from one end and work toward the other
- First secure the edges, then press toward center
- For large slabs, work in sections systematically
- Maintain straight-line pressure for even contact
Specialized Tools
Proper tools make the lamination process more effective.
- Use a soft scraper or roller for even pressure
- Press from secured areas toward unlaminated areas
- Maintain consistent pressure to avoid stretching
- Ensure full coverage with no missed spots
Environment Control
Environmental factors significantly impact lamination quality.
- Maintain room temperature (18-24°C/65-75°F)
- Ensure low humidity environment (below 60% RH)
- Minimize airflow to prevent dust contamination
- Avoid direct sunlight during application
Post-Lamination Inspection
Thorough inspection ensures long-term protection.
- Check for air bubbles immediately after application
- For small bubbles, puncture and press to remove air
- Re-press any raised edges for tight seal
- Inspect entire surface under angled lighting
You Might Also Like
-
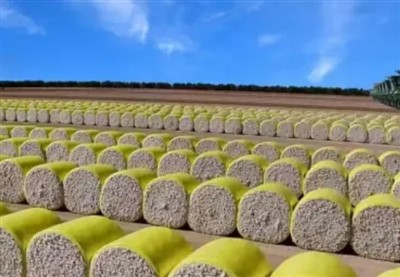
what are the advantages of cotton packaging film
-
The Advantages of Cotton Wrap Film
-
How does pe protective film cope with high temperature environment
-
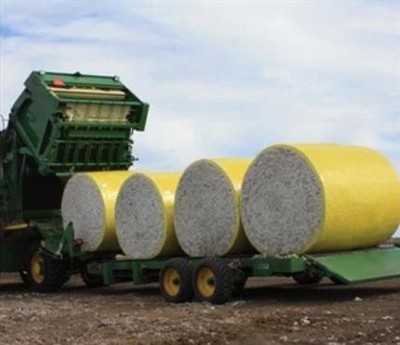
Advantages of Cotton Bale Wrap Film
-
How Polyethylene Packaging Material Copes with High Temperature Environment
-
Storage method of cotton bale wrap film