How to install the protective film for stainless steel plates
2025-06-20
Stainless Steel Protective Film Installation Guide
To ensure perfect installation of protective film for stainless steel plates, each step from preparation to finishing is crucial. Follow this comprehensive guide:
Step-by-Step Installation Process
- 1 Surface Cleaning: Use a dust-free cloth with neutral detergent to thoroughly clean the plate, removing all oil, dust and fingerprints. Dry completely with a clean cloth to eliminate any residue.
-
2 Tool Preparation:
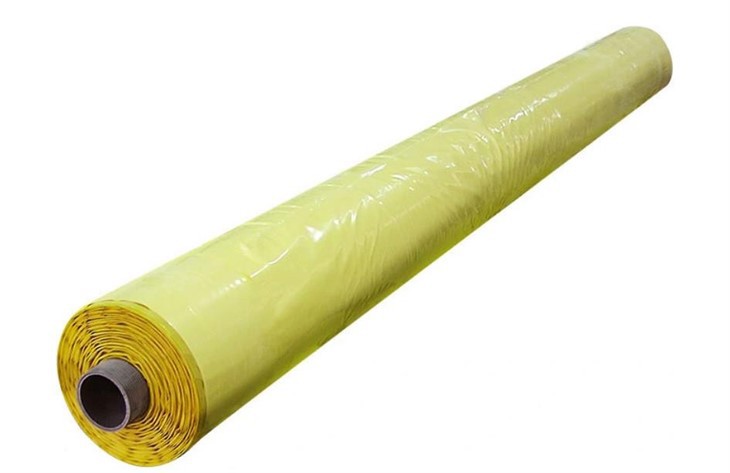
Protective film Rubber scraper Utility knife Measuring tape Protective glovesAlways wear gloves to prevent contamination from skin oils.
- 3 Precise Measurement: Measure the plate dimensions accurately and cut the film 0.5-1cm larger to allow for perfect alignment during application.
- 4 Initial Application: Align film edges precisely, peel back 15-20cm of backing, and apply gradually while smoothing from center outward with your scraper.
- 5 Progressive Installation: Continue peeling backing while applying, checking constantly for bubbles or wrinkles. Address any issues immediately.
- 6 Edge Finishing: Trim excess film carefully with vertical knife cuts. Use the scraper to seal edges firmly against the surface.
- 7 Quality Inspection: Examine the entire surface - use a needle to puncture bubbles and smooth out, reapply any imperfect sections.
Pro Tip: Work in a clean, well-lit area and maintain consistent 45° angle when using the scraper for bubble-free results.
By meticulously following these steps, you'll achieve a flawless protective film application that preserves your stainless steel surfaces while allowing for clean removal when needed.
You Might Also Like
-
How to Remove Protective Transparent Plastic Film Without Damaging the Surface
-
what are the advantages of cotton packaging film
-
How does pe protective film cope with high temperature environment
-
How Polyethylene Packaging Material Copes with High Temperature Environment
-
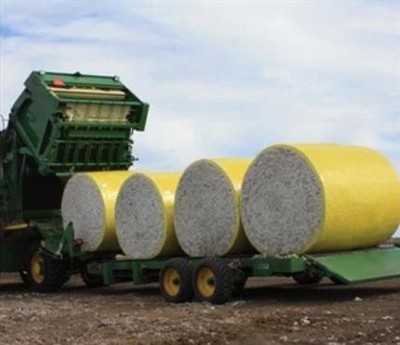
The Advantages of Cotton Wrap Film
-
Advantages of Cotton Bale Wrap Film